Gatsby Serverless Functions And The International Space Station

Email Newsletter
Weekly tips on front-end & UX.
Trusted by 182,000+ folks.

 Celebrating 10 million developers


 Custom Web Forms for Angular, React, & Vue. Your backend.
Gatsby recently announced the launch of Functions which opens up a new dimension of possibilities — and I for one couldn’t be more excited! With Gatsby now providing Serverless Functions on Gatsby Cloud (and Netlify also providing support via @netlify/plugin-gatsby), the framework that was once misunderstood to be “just for blogs” is now more than ever, (in my opinion) the most exciting technology provider in the Jamstack space.
The demo in this article is the result of a recent project I worked on where I needed to plot geographical locations around a 3D globe and I thought it might be fun to see if it were possible to use the same technique using off-planet locations. Spoiler alert: It’s possible! If you prefer to jump ahead, the finished code can be found here.
Getting Started
With Gatsby Functions, you can create more dynamic applications using techniques typically associated with client-side applications by adding an api directory to your project and exporting a function, e.g.
|-- src
  |-- api
     -- some-function.js
  |-- pages
// src/api/some-function.js
export default function handler(req, res) {
  res.status(200).json({ hello: `world` })
}
If you already have a Gatsby project setup, great! but do make sure you’ve upgraded Gatsby to at least version v3.7
npm install gatsby@latest --save
If not, then feel free to clone my absolute bare-bones Gatsby starter repo: mr-minimum.
Before I can start using Gatsby Functions to track the International Space Station, I first need to create a globe for it to orbit.
Step 1: Building The 3D Interactive Globe
I start by setting up a 3D interactive globe which can be used later to plot the current ISS location.
Install Dependencies
npm install @react-three/fiber @react-three/drei three three-geojson-geometry axios --save
Create The Scene
Create a new file in src/components called three-scene.js
// src/components/three-scene.js
import React from 'react';
import { Canvas } from '@react-three/fiber';
import { OrbitControls } from '@react-three/drei';

const ThreeScene = () => {
  return (
    <Canvas
      gl={{ antialias: false, alpha: false }}
      camera={{
        fov: 45,
        position: [0, 0, 300]
      }}
      onCreated={({ gl }) => {
        gl.setClearColor('#ffffff');
      }}
      style={{
        width: '100vw',
        height: '100vh',
        cursor: 'move'
      }}
    >
      <OrbitControls enableRotate={true} enableZoom={false} enablePan={false} />
    </Canvas>
  );
};

export default ThreeScene;
The above sets up a new <Canvas /> element and can be configured using props exposed by React Three Fibre.
Elements that are returned as children of the canvas component will be displayed as part of the 3D scene. You’ll see above that I’ve included <OrbitControls /> which adds touch/mouse interactivity allowing users to rotate the scene in 3D space
Ensure ThreeScene is imported and rendered on a page somewhere in your site. In my example repo I’ve added ThreeScene to index.js:
// src/pages/index.js
import React from 'react';

import ThreeScene from '../components/three-scene';

const IndexPage = () => {
  return (
    <main>
      <ThreeScene />
    </main>
  );
};

export default IndexPage;
This won’t do much at the moment because there’s nothing to display in the scene. Let’s correct that!
Create The Sphere
Create a file in src/components called three-sphere.js:
// src/components/three-sphere.js
import React from 'react';

const ThreeSphere = () => {
  return (
    <mesh>
      <sphereGeometry args={[100, 32, 32]} />
      <meshBasicMaterial color="#f7f7f7" transparent={true} opacity={0.6} />
    </mesh>
  );
};

export default ThreeSphere;
If the syntax above looks a little different to that of the Three.js docs it’s because React Three Fibre uses a declarative approach to using Three.js in React.
A good explanation of how constructor arguments work in React Three Fibre can be seen in the docs here: Constructor arguments
Now add ThreeSphere to ThreeScene:
// src/components/three-scene.js
import React from 'react';
import { Canvas } from '@react-three/fiber';
import { OrbitControls } from '@react-three/drei';

+ import ThreeSphere from './three-sphere';

const ThreeScene = () => {
  return (
    <Canvas
      gl={{ antialias: false, alpha: false }}
      camera={{
        fov: 45,
        position: [0, 0, 300]
      }}
      onCreated={({ gl }) => {
        gl.setClearColor('#ffffff');
      }}
      style={{
        width: '100vw',
        height: '100vh',
        cursor: 'move'
      }}
    >
      <OrbitControls enableRotate={true} enableZoom={false} enablePan={false} />
+      <ThreeSphere />
    </Canvas>
  );
};

export default ThreeScene;
You should now be looking at something similar to the image below.

Not very exciting, ay? Let’s do something about that!
Create The Geometry (To Visualize The Countries Of Planet Earth)
This next step requires the use of three-geojson-geometry and a CDN resource that contains Natural Earth Data. You can take your pick from a full list of suitable geometries here.
I’ll be using admin 0 countries. I chose this option because it provides enough geometry detail to see each country, but not so much that it will add unnecessary strain on your computer’s GPU.
Now, create a file in src/components called three-geo.js:
// src/components/three-geo.js
import React, { Fragment, useState, useEffect } from 'react';
import { GeoJsonGeometry } from 'three-geojson-geometry';
import axios from 'axios';

const ThreeGeo = () => {
const [isLoading, setIsLoading] = useState(true);
  const [geoJson, setGeoJson] = useState(null);

  useEffect(() => {
    axios
      .get(
   'https://d2ad6b4ur7yvpq.cloudfront.net/naturalearth-3.3.0/ne_110m_admin_0_countries.geojson'
      )
      .then((response) => {
        setIsLoading(false);
        setGeoJson(response.data);
      })
      .catch((error) => {
        console.log(error);
        throw new Error();
      });
  }, []);

  return (
    <Fragment>
      {!isLoading ? (
        <Fragment>
          {geoJson.features.map(({ geometry }, index) => {
            return (
              <lineSegments
                key={index}
                geometry={new GeoJsonGeometry(geometry, 100)}
              >
                <lineBasicMaterial color="#e753e7" />
              </lineSegments>
            );
          })}
        </Fragment>
      ) : null}
    </Fragment>
  );
};

export default ThreeGeo;
There’s quite a lot going on in this file so I’ll walk you through it.
- Create an
isLoadingstate instance using React hooks and set it totrue. This prevents React from attempting to return data I don’t yet have. - Using a
useEffectI request the geojson from the CloudFront CDN. - Upon successful retrieval I set the response in React state using
setGeoJson(...)and setisLoadingtofalse - Using an Array.prototype.map I iterate over the “features” contained within the geojson response and return
lineSegmentswithlineBasicMaterialfor eachgeometry - I set the
lineSegmentsgeometryto the return value provided byGeoJsonGeomtrywhich is passed the “features”geometryalong with a radius of100.
(You may have noticed I’ve used the same radius of 100 here as I’ve used in the sphereGeometry args in three-sphere.js. You don’t have to set the radius to the same value but it makes sense to use the same radii for ThreeSphere and ThreeGeo.
If you’re interested to know more about how GeoJsonGeometry works, here’s the open-source repository for reference: https://github.com/vasturiano/three-geojson-geometry. The repository has an example directory however, the syntax is slightly different from what you see here because the examples are written in vanilla JavaScript not React.
Combine The Sphere And Geometry
Now it’s time to overlay the geometry on top of the blank sphere: Add ThreeGeo to ThreeScene
// src/components/three-scene.js
import React from 'react';
import { Canvas } from '@react-three/fiber';
import { OrbitControls } from '@react-three/drei';

import ThreeSphere from './three-sphere';
+ import ThreeGeo from './three-geo';


const ThreeScene = () => {
  return (
    <Canvas
      gl={{ antialias: false, alpha: false }}
      camera={{
        fov: 45,
        position: [0, 0, 300]
      }}
      onCreated={({ gl }) => {
        gl.setClearColor('#ffffff');
      }}
      style={{
        width: '100vw',
        height: '100vh',
        cursor: 'move'
      }}
    >
      <OrbitControls enableRotate={true} enableZoom={false} enablePan={false} />
      <ThreeSphere />
+      <ThreeGeo />
    </Canvas>
  );
};
You should now be looking at something similar to the image below.
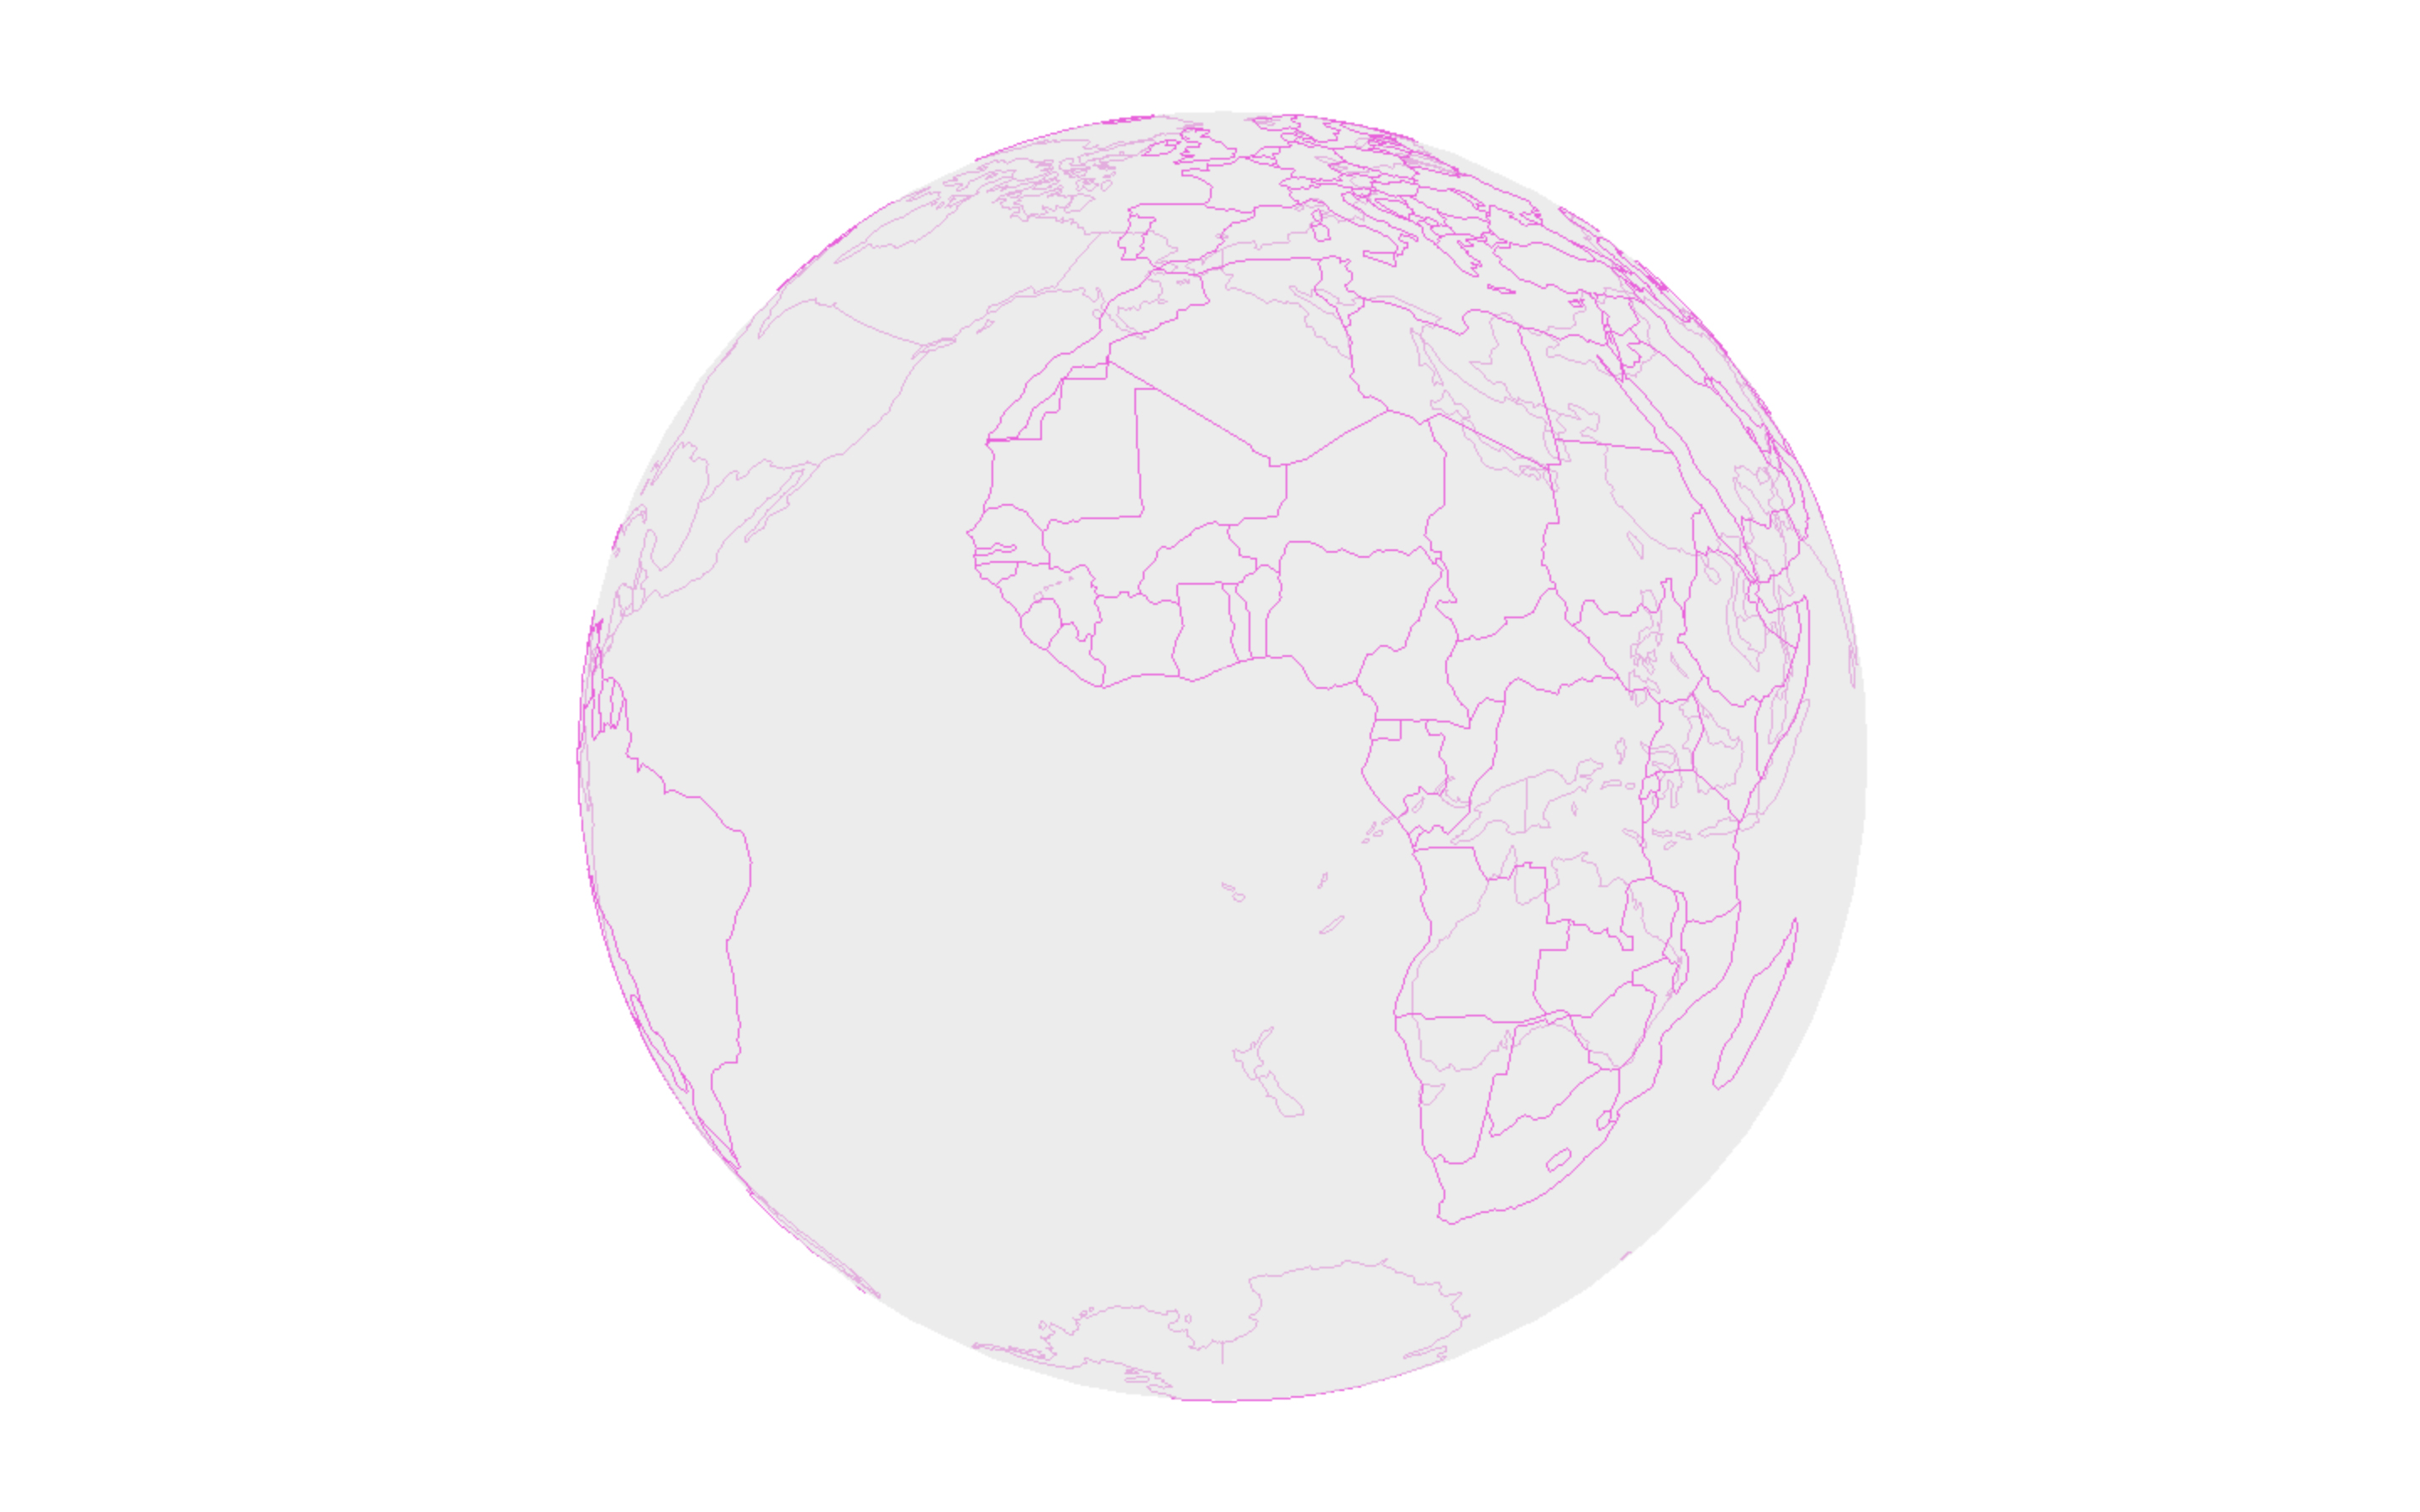
Now that’s slightly more exciting!
Step 2: Building A Serverless Function
Create A Function
This next step is where I use a Gatsby Function to request data from Where is ISS at, which returns the current location of the International Space Station.
Create a file in src/api called get-iss-location.js:
// src/api/get-iss-location.js
const axios = require('axios');

export default async function handler(req, res) {
  try {
    const { data } = await axios.get(
      'https://api.wheretheiss.at/v1/satellites/25544'
    );

    res.status(200).json({ iss_now: data });
  } catch (error) {
    res.status(500).json({ error });
  }
}
This function is responsible for fetching data from api.whereistheiss.at and upon success will return the data and a 200 status code back to the browser.
The Gatsby engineers have done such an amazing job at simplifying serverless functions that the above is all you really need to get going, but here’s a little more detail about what’s going on.
- The function is a default export from a file named
get-iss-location.js; - With Gatsby Functions the filename becomes the file path used in a client-side
getrequest prefixed with api, e.g./api/get-iss-location; - If the request to “Where is ISS at” is successful I return an
iss_nowobject containingdatafrom the Where is ISS at API and a status code of200back to the client; - If the request errors I send the
errorback to the client.
Step 3: Build The International Space Station
Creating The ISS Sphere
In this next step, I use Gatsby Functions to position a sphere that represents the International Space Station as it orbits the globe. I do this by repeatedly calling an axios.get request from a poll function and setting the response in React state.
Create a file in src/components called three-iss.js
// src/components/three-iss.js
import React, { Fragment, useEffect, useState } from 'react';
import * as THREE from 'three';
import axios from 'axios';

export const getVertex = (latitude, longitude, radius) => {
  const vector = new THREE.Vector3().setFromSpherical(
    new THREE.Spherical(
      radius,
      THREE.MathUtils.degToRad(90 - latitude),
      THREE.MathUtils.degToRad(longitude)
    )
  );
  return vector;
};

const ThreeIss = () => {
  const [issNow, setIssNow] = useState(null);

  const poll = () => {
    axios
      .get('/api/get-iss-location')
      .then((response) => {
        setIssNow(response.data.iss_now);
      })
      .catch((error) => {
        console.log(error);
        throw new Error();
      });
  };

  useEffect(() => {
    const pollInterval = setInterval(() => {
      poll();
    }, 5000);

    poll();
    return () => clearInterval(pollInterval);
  }, []);

  return (
    <Fragment>
      {issNow ? (
        <mesh
          position={getVertex(
            issNow.latitude,
            issNow.longitude,
            120
          )}
        >
          <sphereGeometry args={[2]} />
          <meshBasicMaterial color="#000000" />
        </mesh>
      ) : null}
    </Fragment>
  );
};

export default ThreeIss;
There’s quite a lot going on in this file so I’ll walk you through it.
- Create an
issNowstate instance using React hooks and set it to null. This prevents React from attempting to return data I don’t yet have; - Using a
useEffectI create a JavaScript interval that calls thepollfunction every 5 seconds; - The
pollfunction is where I request the ISS location from the Gatsby Function endpoint (/api/get-iss-location); - Upon successful retrieval, I set the response in React state using
setIssNow(...); - I pass the
latitudeandlongitudeonto a custom function calledgetVertex, along with aradius.
You may have noticed that here I’m using a radius of 120. This does differ from the 100 radius value used in ThreeSphere and ThreeGeo. The effect of the larger radius is to position the ISS higher up in the 3D scene, rather than at ground level — because that’s logically where the ISS would be, right?100 has the effect of the sphere and geometry overlapping to represent Earth, and 120 for the ISS has the effect of the space station “orbiting” the globe I’ve created.
One thing that took a bit of figuring out, at least for me, was how to use spherical two dimensional coordinates (latitude and longitude) in three dimensions, e.g. x,y,z. The concept has been explained rather well in this post by Mike Bostock.
The key to plotting lat / lng in 3D space lies within this formula… which makes absolutely no sense to me!
x=rcos(ϕ)cos(λ)
y=rsin(ϕ)
z=−rcos(ϕ)sin(λ)
Luckily, Three.js has a set of MathUtils which I’ve used like this:
- Pass the
latitude,longitudeandradiusinto thegetVertex(...)function - Create a new
THREE.Sphericalobject from the above named parameters - Set the
THREE.Vector3object using the Spherical values returned by thesetFromSphericalhelper function.
These numbers can now be used to position elements in 3D space on their respective x, y, z axis — phew! Thanks, Three.js!
Now add ThreeIss to ThreeScene:
import React from 'react';
import { Canvas } from '@react-three/fiber';
import { OrbitControls } from '@react-three/drei';

import ThreeSphere from './three-sphere';
import ThreeGeo from './three-geo';
+ import ThreeIss from './three-iss';

const ThreeScene = () => {
  return (
    <Canvas
      gl={{ antialias: false, alpha: false }}
      camera={{
        fov: 45,
        position: [0, 0, 300]
      }}
      onCreated={({ gl }) => {
        gl.setClearColor('#ffffff');
      }}
      style={{
        width: '100vw',
        height: '100vh',
        cursor: 'move'
      }}
    >
      <OrbitControls enableRotate={true} enableZoom={false} enablePan={false} />
      <ThreeSphere />
      <ThreeGeo />
+     <ThreeIss />
    </Canvas>
  );
};

export default ThreeScene;
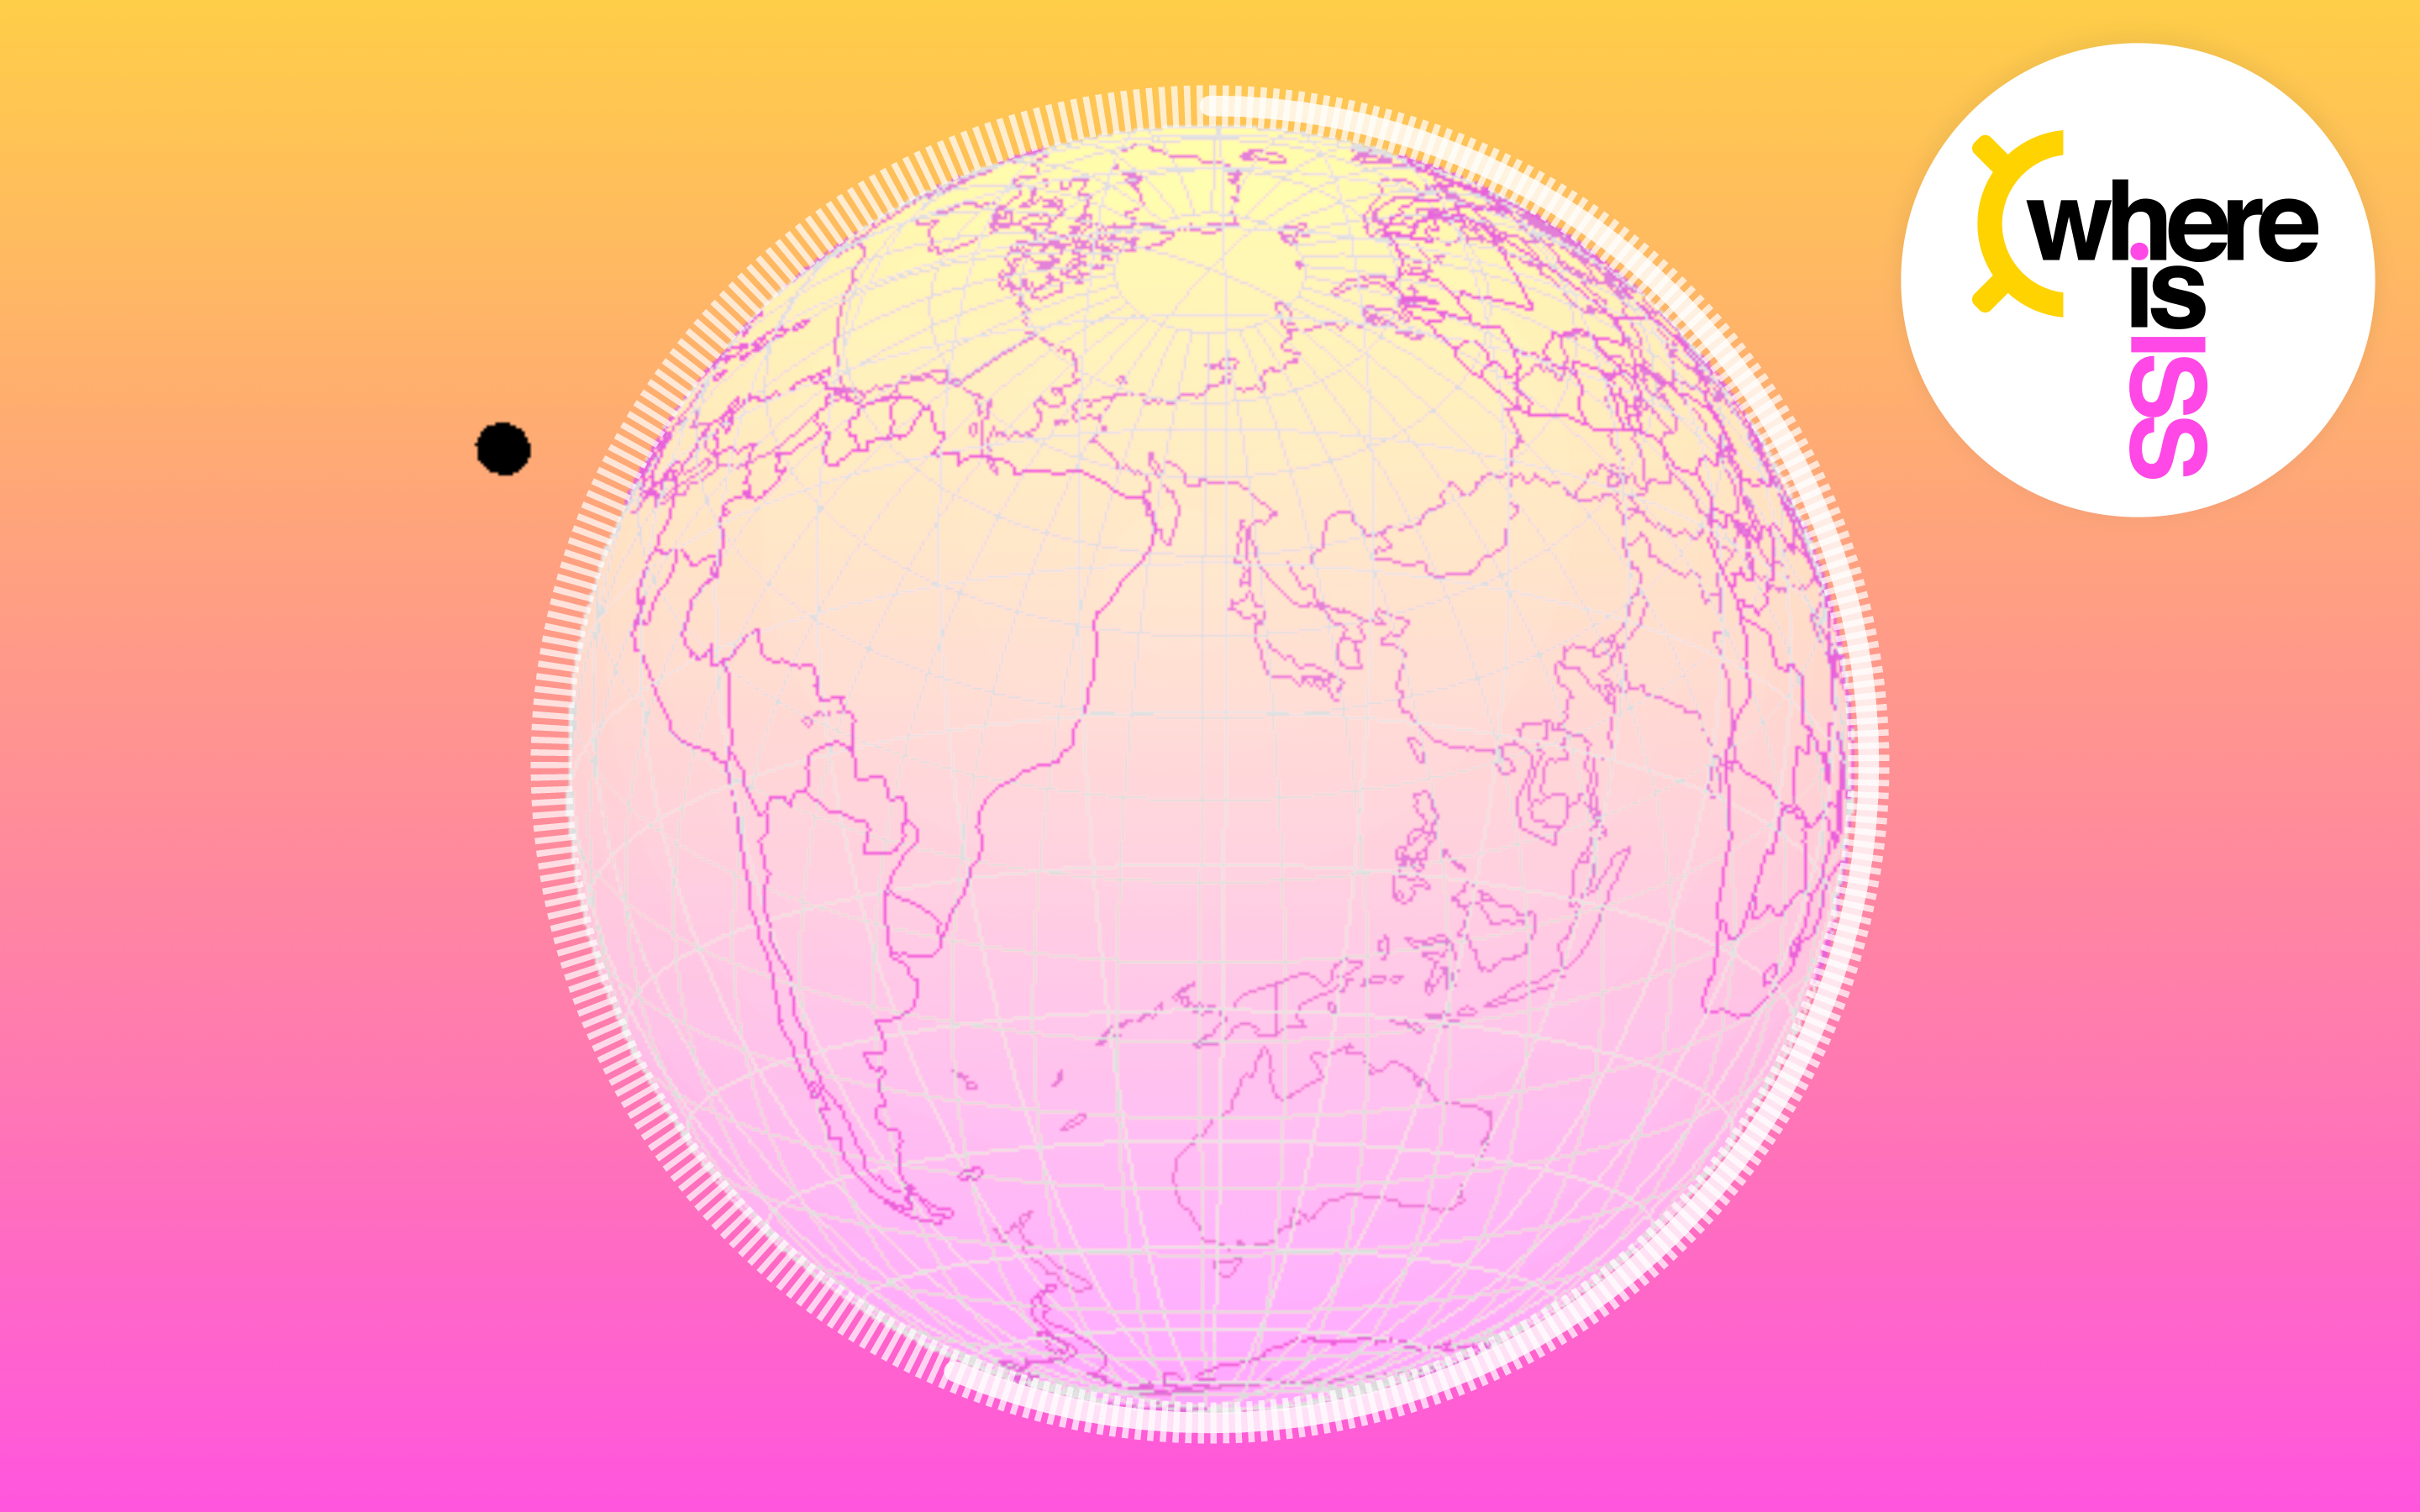
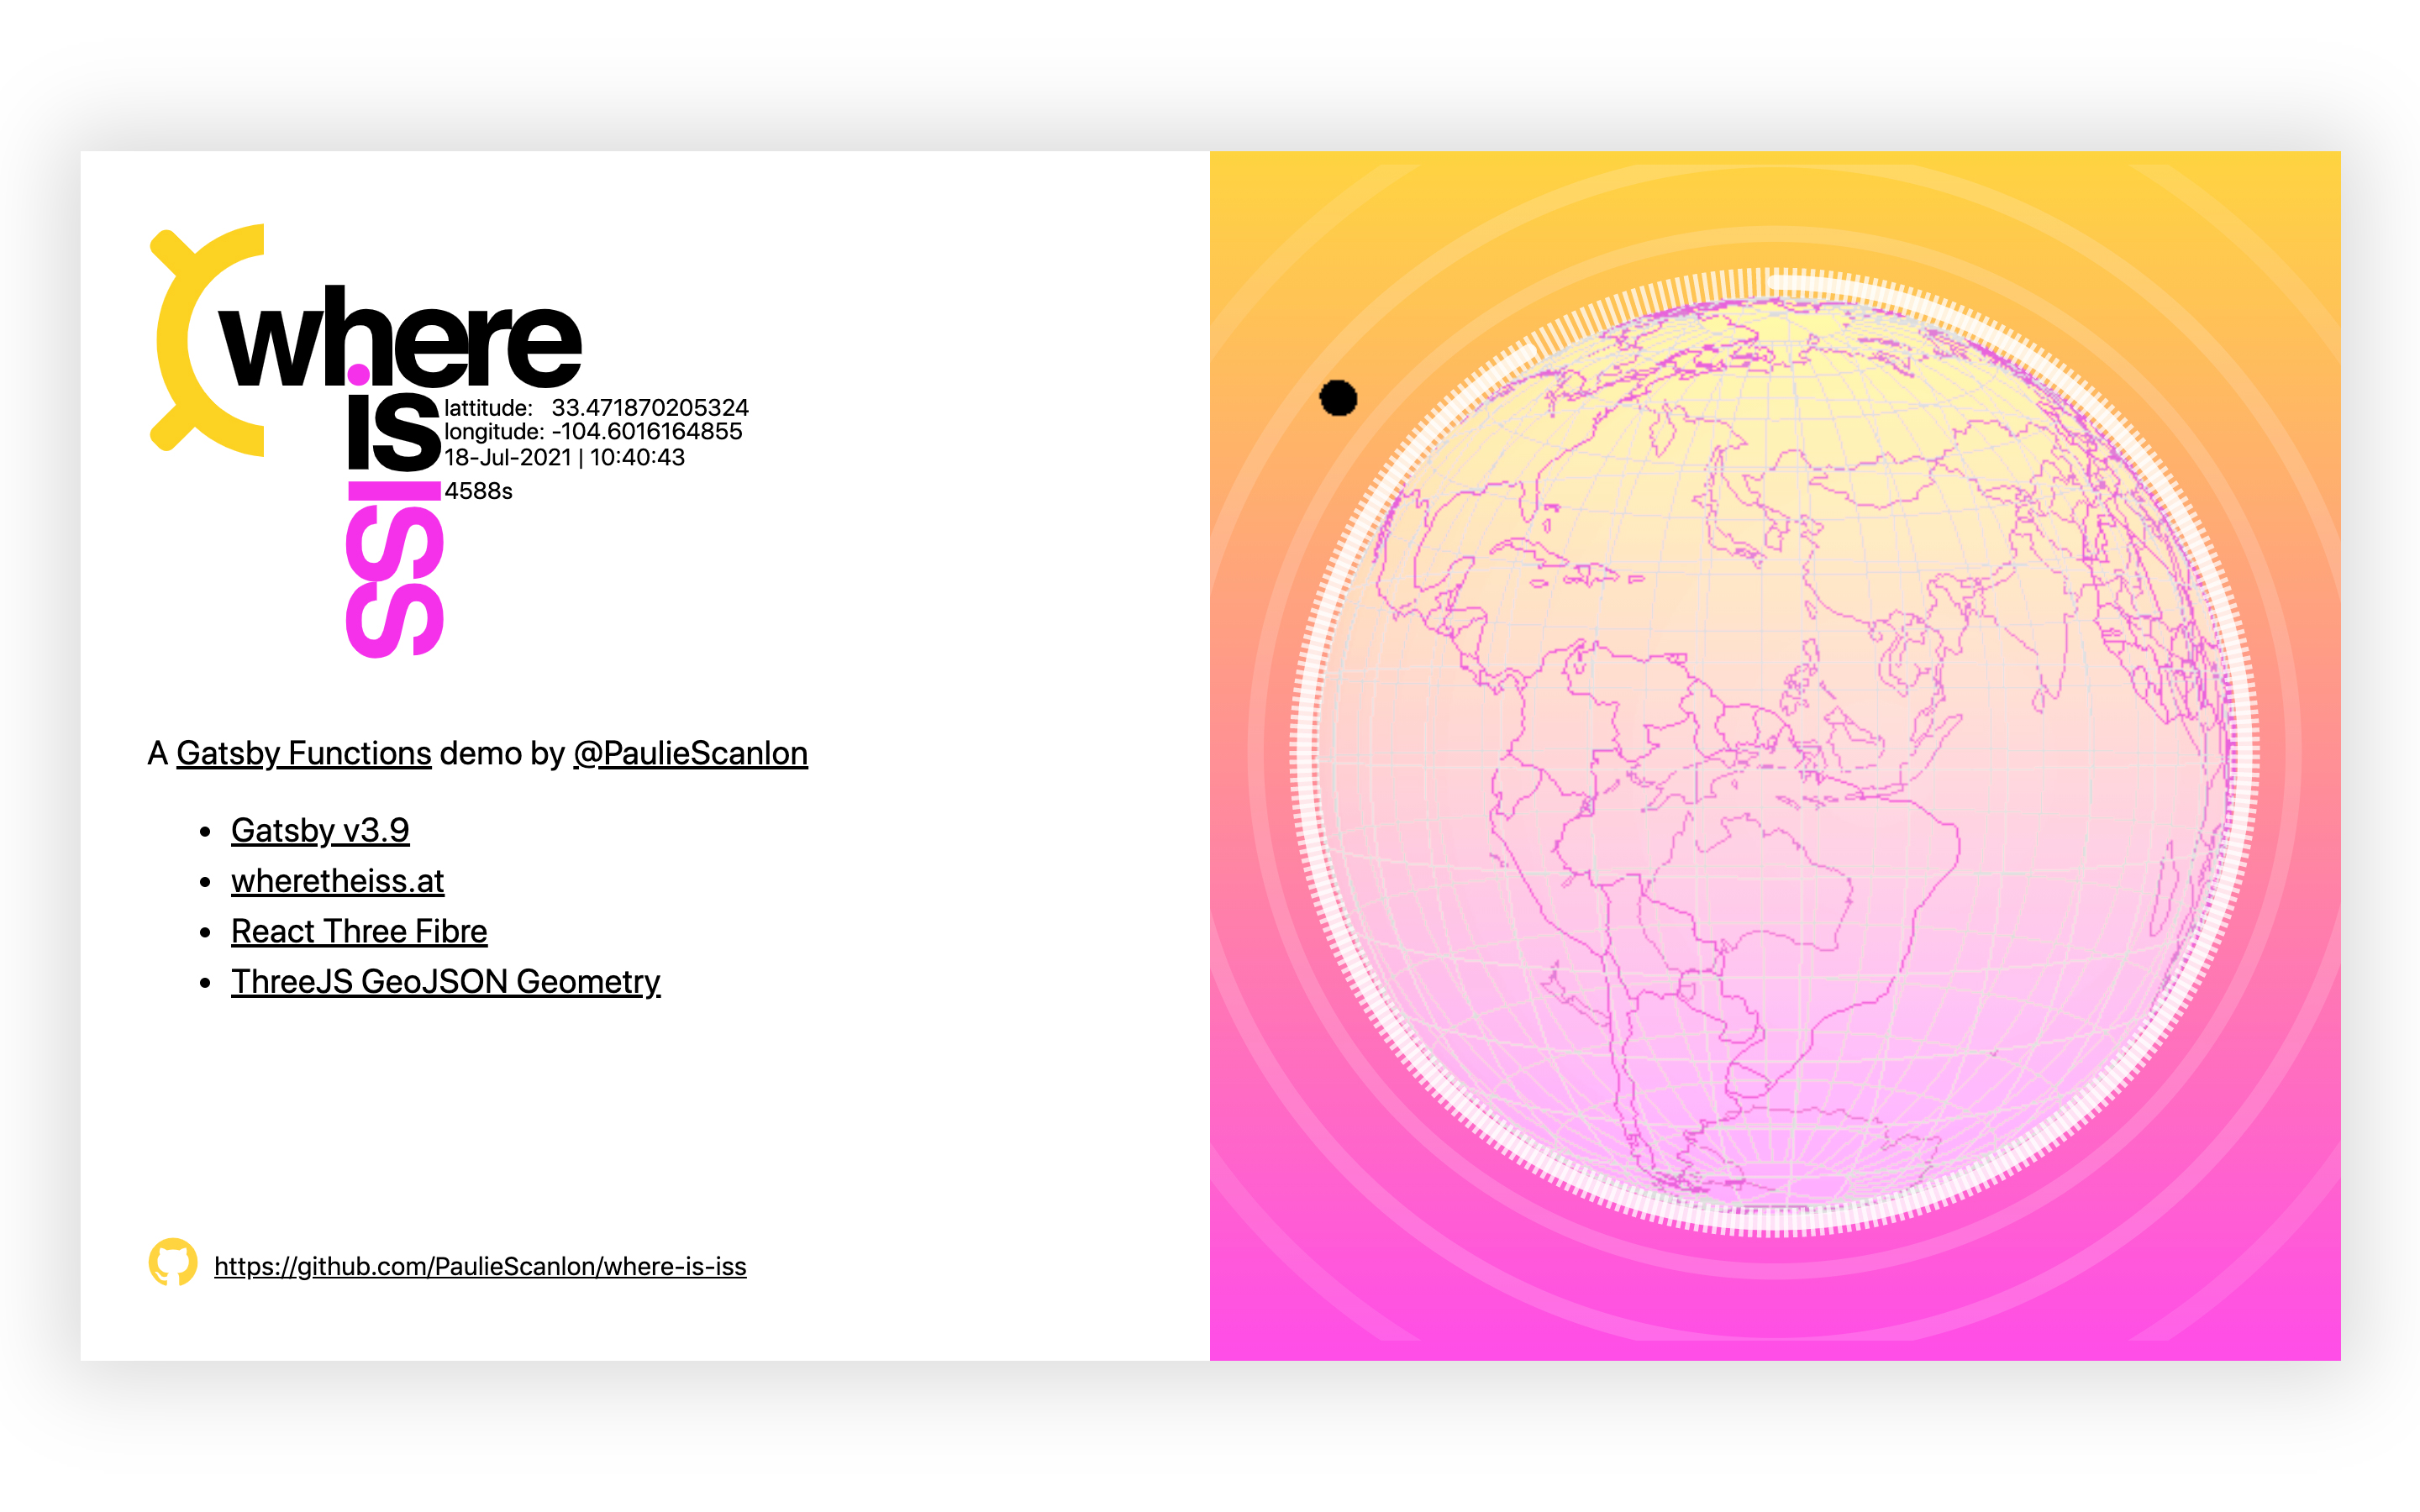
Et voilà! You should now be looking at something similar to the image below.
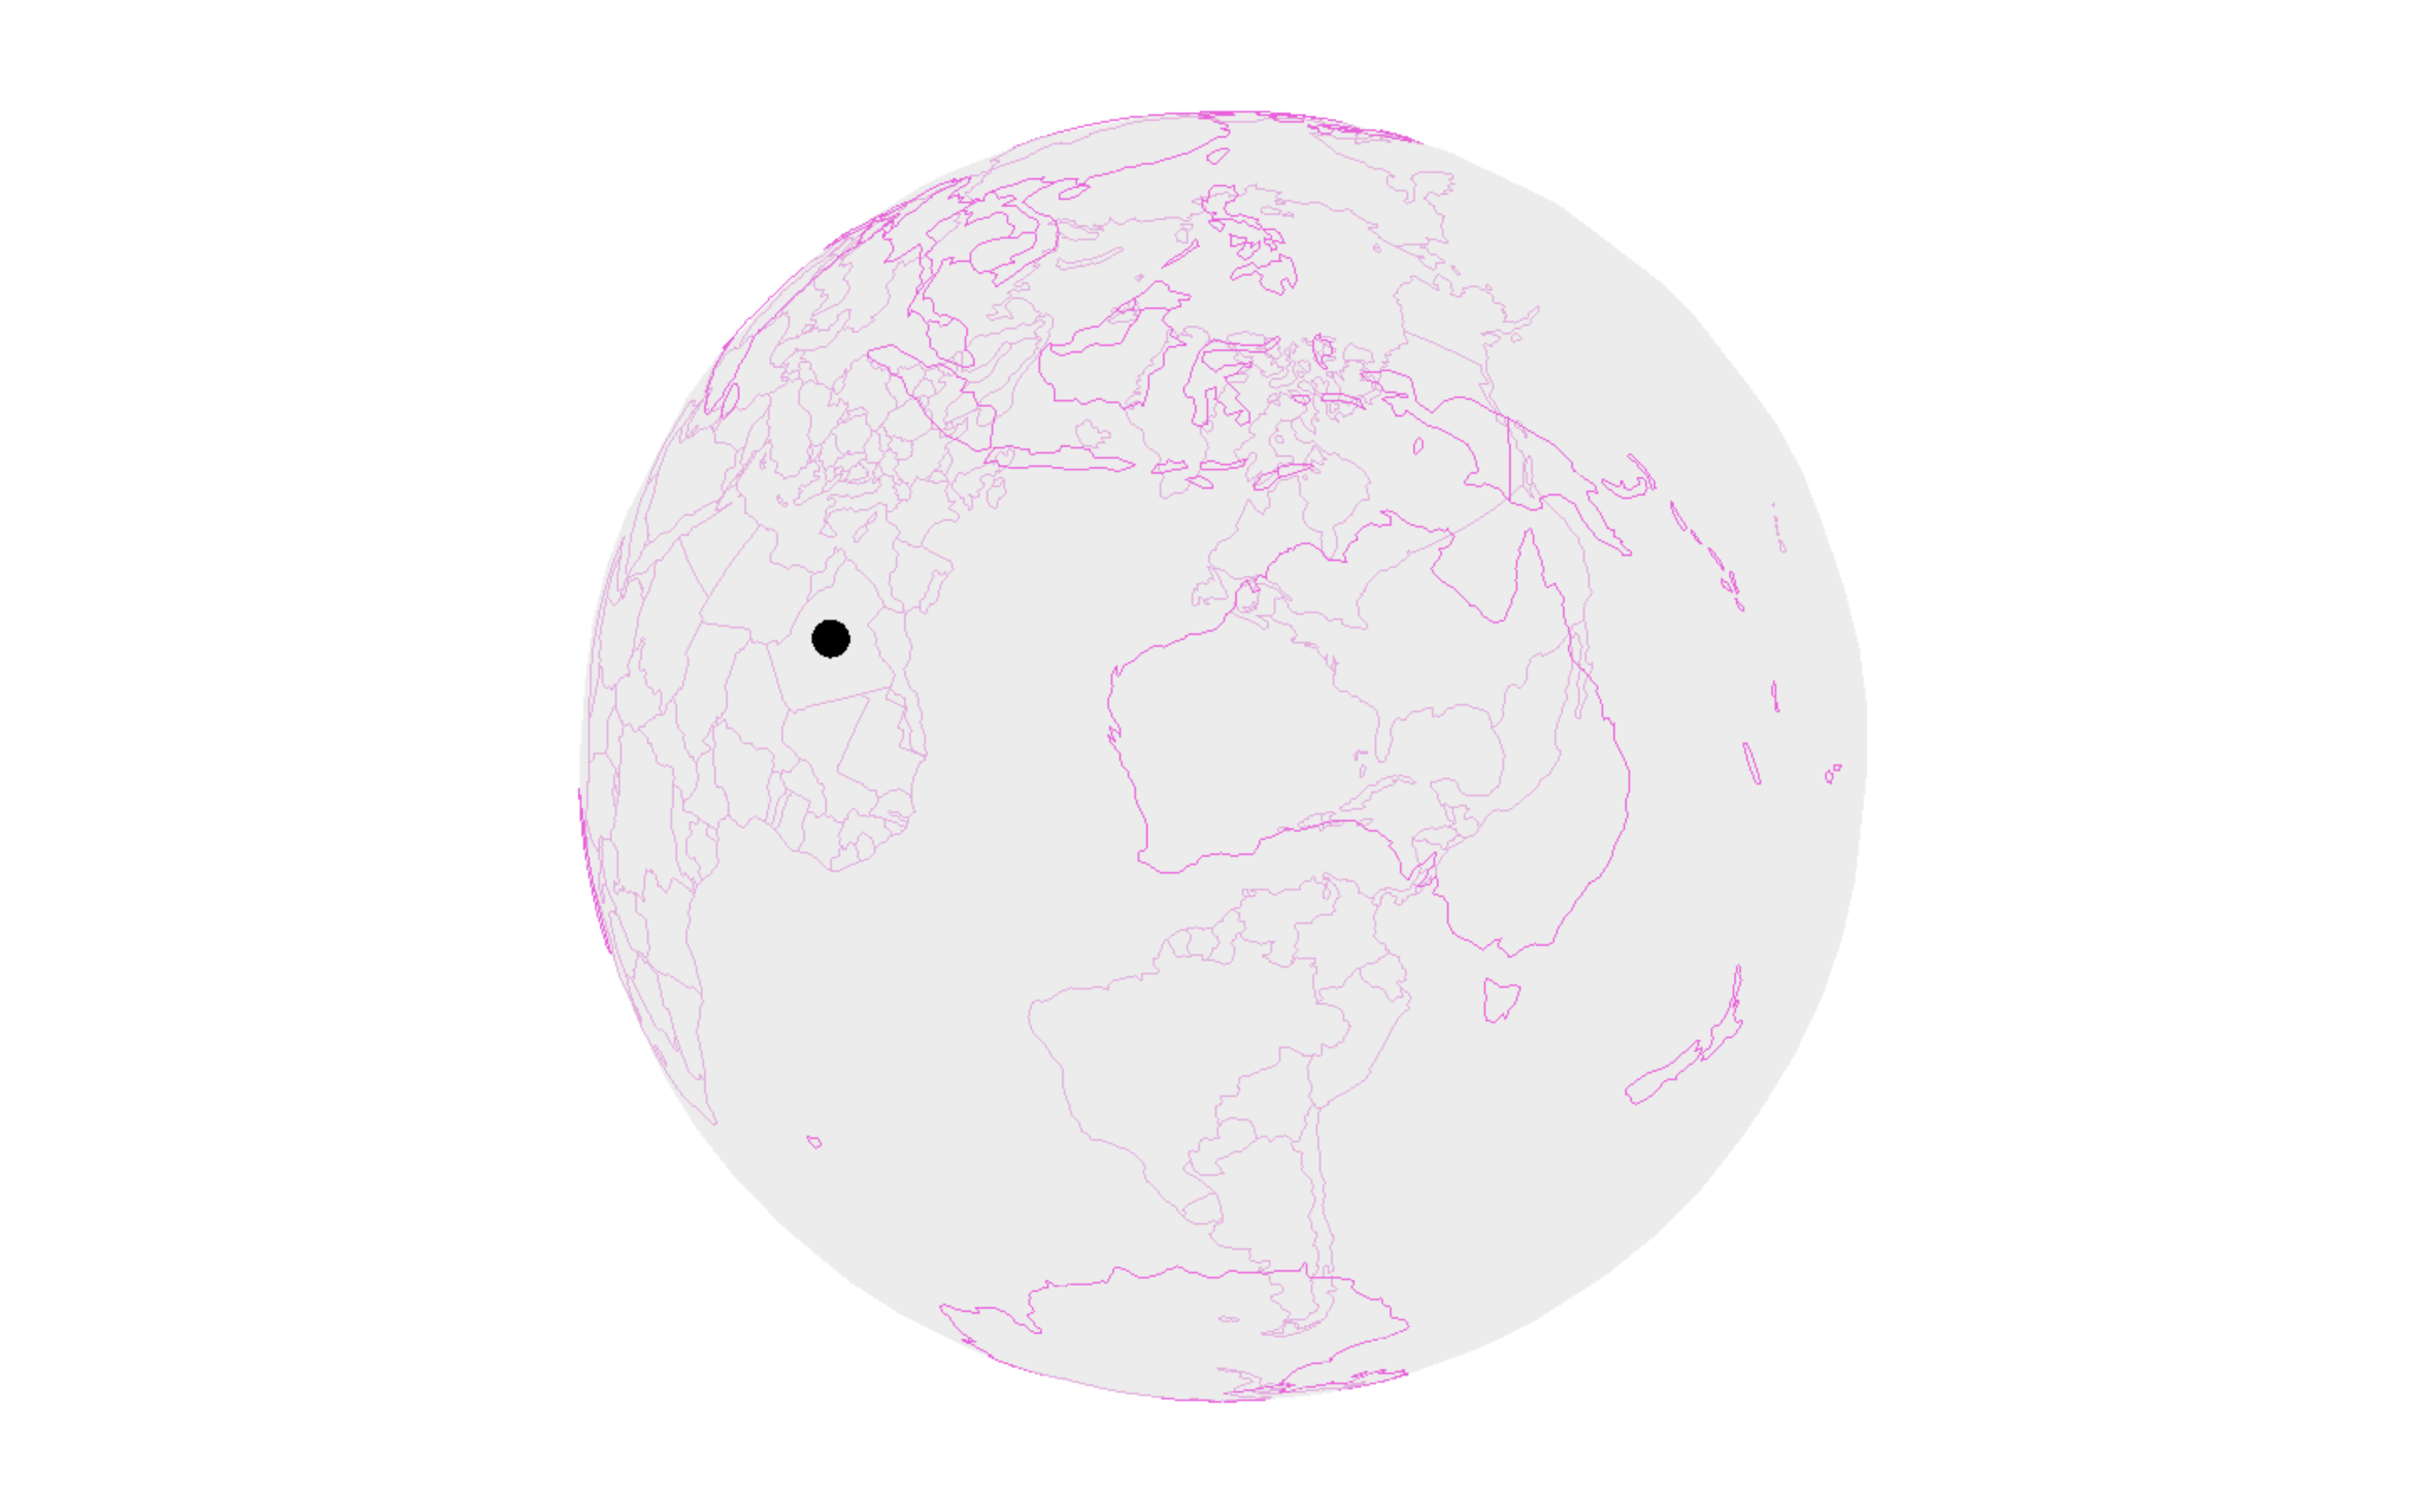
The poll function will repeatedly call the Gatsby Function, which in turn requests the current location of the ISS and re-renders the React component each time a response is successful. You’ll have to watch carefully but the ISS will change position ever so slightly every 5 seconds.
The ISS is traveling at roughly 28,000 km/h and polling the Gatsby Function less often would reveal larger jumps in position. I’ve used 5 seconds here because that’s the most frequent request time as allowed by the Where is ISS at API
You might have also noticed that there’s no authentication required to request data from the Where is ISS at API. Meaning that yes, technically, I could have called the API straight from the browser, however, I’ve decided to make this API call server side using Gatsby Functions for two reasons:
- It wouldn’t have made a very good blog post about Gatsby Functions if i didn’t use them.
- Who knows what the future holds for Where is ISS at, it might at some point require authentication and adding API keys to server side API requests is pretty straightforward, moreover this change wouldn’t require any updates to the client side code.
Step 4: Make It Fancier! (Optional)
I’ve used the above approach to create this slightly more snazzy implementation: https://whereisiss.gatsbyjs.io,
In this site I’ve visualized the time delay from the poll function by implementing an Svg <circle /> countdown animation and added an extra <circle /> with a stroke-dashoffset to create the dashed lines surrounding it.

Step 5: Apply Your New Geo Rendering Skills In Other Fun Ways!
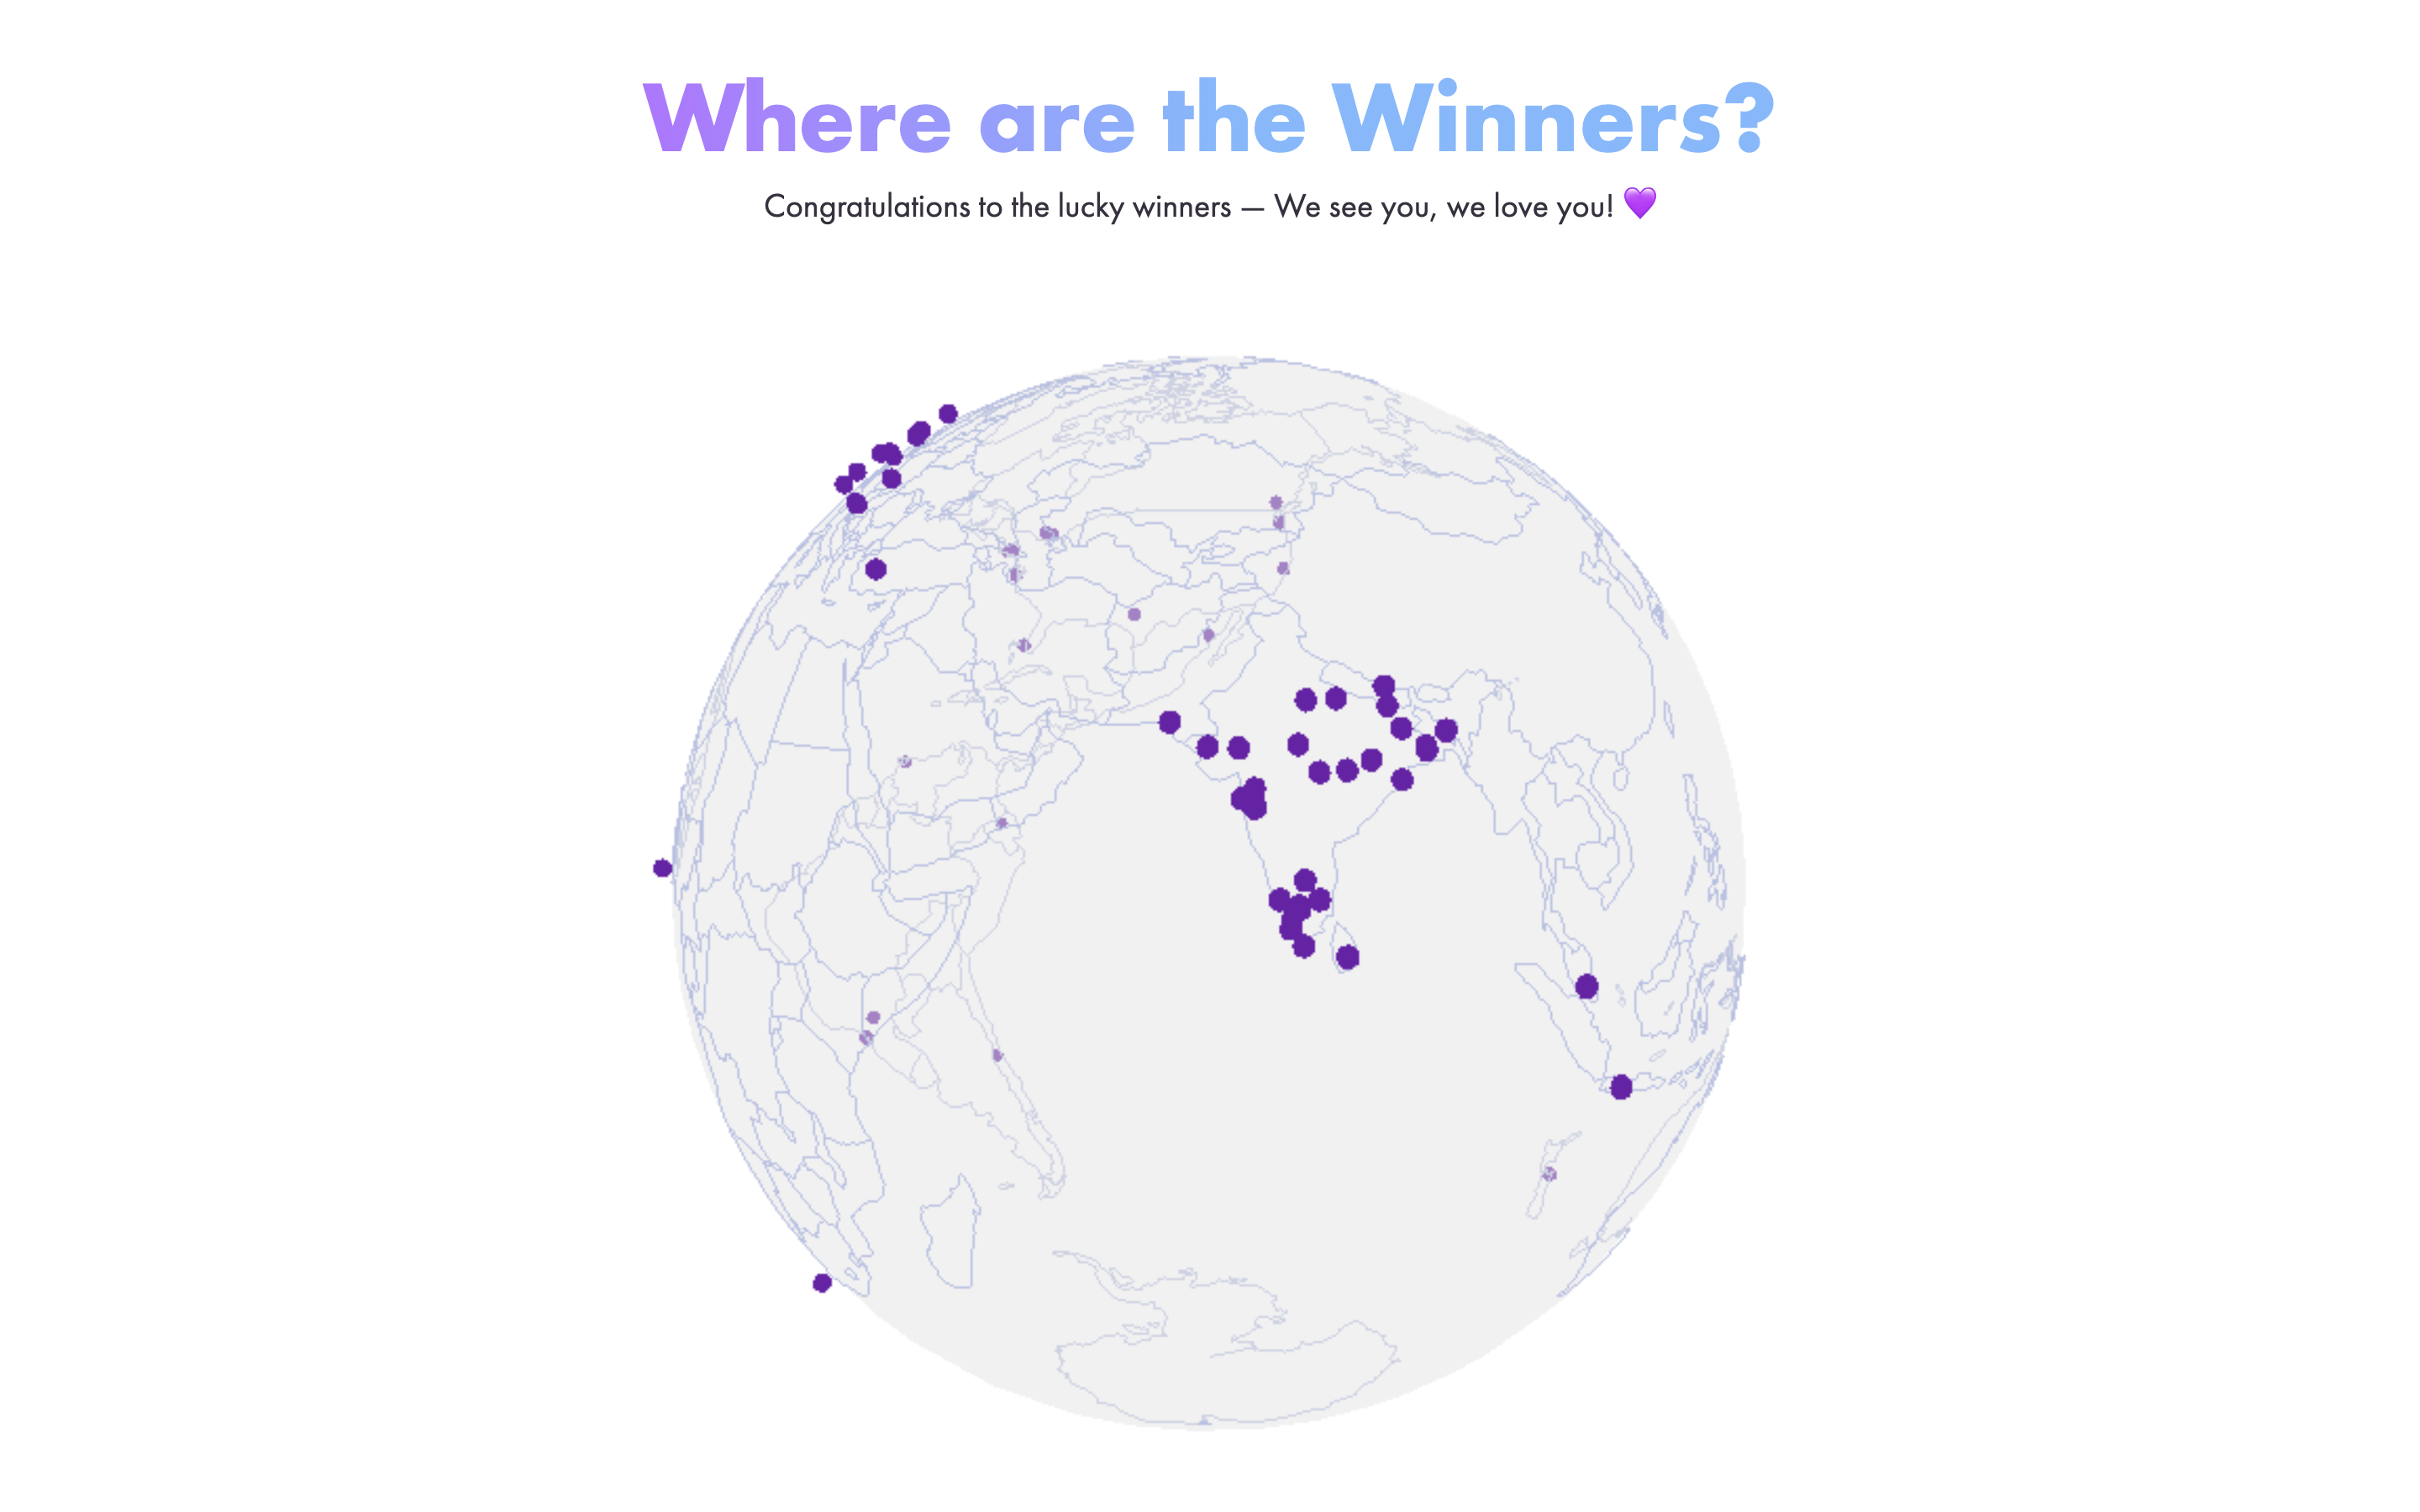
I recently used this approach for plotting geographical locations for the competition winners of 500 Bottles: https://500bottles.gatsbyjs.io. A limited edition FREE swag giveaway I worked on with Gatsby’s marketing team.

You can read all about how this site was made on the Gatsby blog: How We Made the Gatsby 500 Bottles Giveaway
In the 500 Bottles site I plot the geographical locations of each of the competition winners using the same method as described in ThreeIss, which allows anyone visiting the site to see where in the world the winners are.
Closing Thoughts
Gatsby Functions really open up a lot of possibilities for Jamstack developers and never having to worry about spinning up or scaling a server removes so many problems leaving us free to think about new ways they can be used.
I have a number of ideas I’d like to explore using the V4 Space X API’s so give me a follow if that’s your cup of tea: @PaulieScanlon
Other Resources
- If you’re interested in learning more about Gatsby Functions, I highly recommend Summer Functions, a five week course run by my good chum Benedicte Raae.
- In a recent FREE Friday night Summer Functions webinar we created an emoji slot machine which was super fun:
- Build an emoji slot machine with a #GatsbyJS Serverless Function · #GatsbySummerFunctions
- You might also be interested in the following episode from our pokey internet show Gatsby Deep Dives where Kyle Mathews (creator of Gatsby) talks us through how Gatsby Functions work:
- Gatsby Serverless Functions 💝 — Are we live? with Kyle Mathews
- If you’re interested in learning more about Gatsby I have a number of articles and tutorials on my blog: https://paulie.dev, and please do come find me on Twitter if you fancy a chat: @PaulieScanlon
I hope you enjoyed this post. Ttfn 🕺!
Further Reading
- An Introduction To Full Stack Composability
- The Ultimate Free Solo Blog Setup With Ghost And Gatsby
- The Case For Prisma In The Jamstack
- Regexes Got Good: The History And Future Of Regular Expressions In JavaScript


