How To Design An Effective User Onboarding Flow

Email Newsletter
Weekly tips on front-end & UX.
Trusted by 182,000+ folks.
This article has been kindly supported by our dear friends at Feathery.io who help product teams build customizable and developer-friendly forms. Thank you!
What is it that causes users to give up on an app before ever stepping inside or really giving it a fair chance? It could be the onboarding process.
Sometimes half the battle in getting users to adopt the products you build is to first get them in them so they can see how awesome they are. With a high-quality user onboarding flow, you can easily increase conversions, user satisfaction, and user activation within the product.
In this post, we’re going to look at what it takes to design an effective user onboarding flow that maximizes how many engaged users you get inside your web app. We’ll be using Feathery — a powerful, no-code onboarding form builder — to demonstrate how to do this.
What Can You Accomplish With An Onboarding Process?
The onboarding flow is a multi-step process that helps users get started with a new SaaS product. In most cases, the flow appears right after signup and bridges the user into the app. And for more complex SaaS, onboarding flows can appear as tooltips and guided tours inside the product.
With a particularly effective onboarding flow, you’ll be able to:
- Increase conversion rates.
- Reduce user abandonment.
- Increase user activation within the product.
- Improve overall user satisfaction.
- Decrease churn.
Ultimately, your user onboarding process sets the tone for what’s to come.
“
You can personalize the product based on user responses, demonstrate how easy it is to get started, or reinforce the overall value of adopting the product into their workflow.
How To Design A Great User Onboarding Flow With Feathery
As I break down the steps below, I’ll demonstrate how to use Feathery to create an effective user onboarding flow similar to Duolingo’s popular onboarding flow.
Note: After you sign up for Feathery, you’ll have a short onboarding process of your own to complete. In the end, you can choose to use a template or start with a blank canvas. For the purposes of this walkthrough, I’ll be starting from scratch.
Step 1: Design The Container Style
Although each step in the flow will contain different content, you want the general design and format to remain consistent throughout. Not only should this design improve the usability of the onboarding process, but it should give users an idea of what your app will look like.
To make changes to the appearance of your onboarding screens, click on the container in Step 1. A “Style” panel will open on the right.

From this panel, you can modify the following:
- Layout,
- Background color or imagery,
- Corner radius,
- Shadows,
- Hover-triggered transformations,
- Click-triggered transformations.
Note: If you plan on making extensive customizations to the style of your container, I’d recommend deleting any subsequent steps that were included with your template if you’re using one. It’ll be much easier if you duplicate this first container for subsequent steps and save yourself time replicating the styles. Alternatively, Feathery offers the ability to build and save reusable styles and components using themes.
Step 2: Create The Steps In Your Flow
People can really only hold about five to seven items in their short-term working memory.
“
That means capping your onboarding steps at no more than seven steps. Five would be better, but if they’re super short and not overly complicated requests, you might be able to stretch it a bit.
To build out your steps, first, decide what type of onboarding flow would be the most beneficial for your app. For example:
- A product setup walkthrough to help users personalize their experience or get started;
- A series of questions that help identify what type of user they are;
- A preview of the core features;
- A video or GIF intro that welcomes the user and shows them how easy the app is to use;
- Powerful statistics that reinforce the transformative effects of your product.
Then start piecing them together.
To add a new screen to the flow, use the “Flow” tab on the left. Use the “+Step” button at the bottom to add a new step, or you can click the plus sign that appears beneath your existing step button when you hover over it.

You can rename the labels of each step by double-clicking on each block. Alternatively, if you hover over the block, three vertical dots appear to the right, which gives you the ability to duplicate, rename or delete it.
Step 3: Customize The Content
In terms of what makes an onboarding flow effective, you generally want to keep the design simple — lots of white space, concise and easy-to-follow language, and motivational imagery and colors.
Each step will include a combination of imagery and text. You’ll find all of the mix-and-match components you need under the “Elements” tab in the left sidebar.
Let’s go through an example of what you might put on one of these screens from top to bottom.
Step 3a: Add a Progress Indicator
To start, place a “Progress” element at the top of the page. Whenever you have a multi-step process, providing users with visibility into their progress is a must.

You can customize everything about this progress indicator, including:
- Length,
- Alignment,
- Visibility,
- Color,
- Font,
- Text placement,
- Text styling.
When designing your progress bar, consider its prominence in terms of the rest of the design. You want it to be easy to find, but not so overpowering that it distracts from the actual message on the page.
Step 3b: Customize The Text
Before adding any imagery, lay down your text layers. Ideally, each screen should contain no more than 50 words or so.
Another thing to think about with text is a hierarchy. If all of the text is the same size and styling, it could end up looking like one long block of text (even if it’s only 50 words).
To keep onboarding screens easy to read:
- Limit the amount of text,
- Keep it simple and jargon-free,
- Choose a readable font,
- Use headings at the top of the page,
- Add bolding and italics for emphasis,
- Place single- or multiple-choice options into blocks with visual companions.
In Feathery, use the “Text” field to add individual text layers.
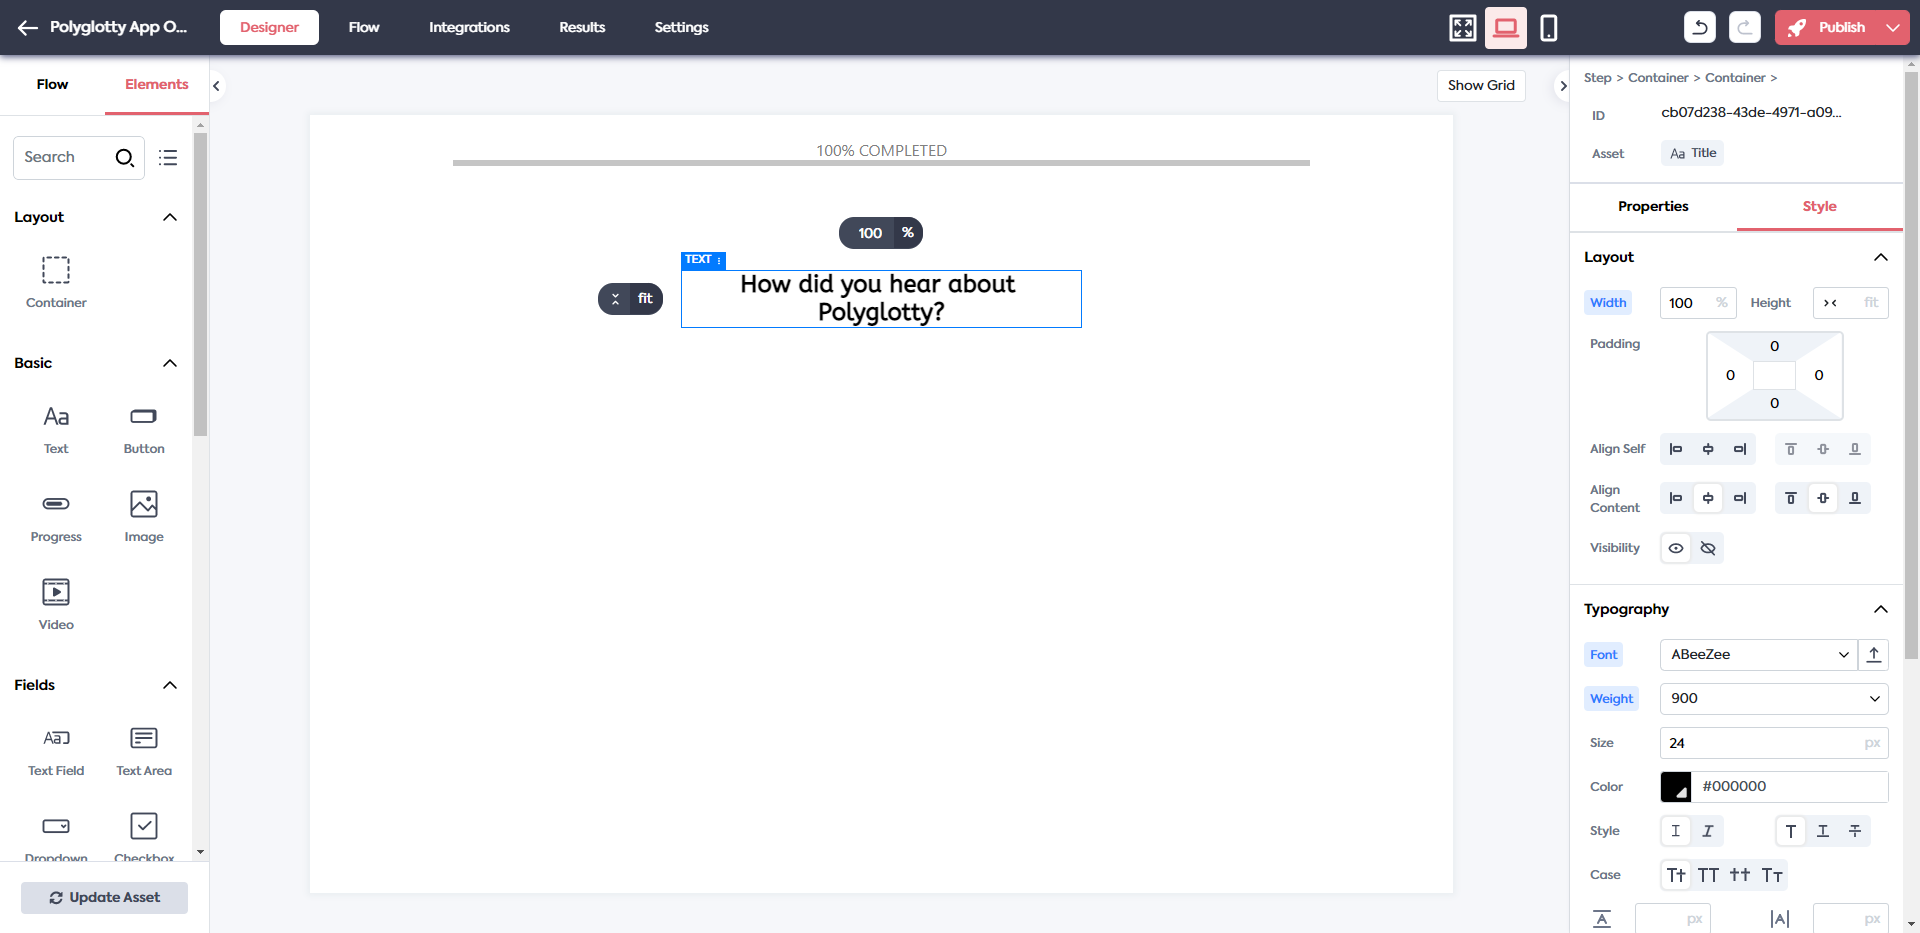
You’ll have total control over how the text looks from the “Style” panel.
Step 3c: Add Imagery
With Feathery, you can add images and videos to your onboarding step designs using the corresponding elements — images you’ll have to upload from an external source, and videos will need to be hosted on YouTube and then embedded with a link.
For more complex configurations (like text and image blocks), use the element that most closely resembles what you need.
For instance, I want to create nine clickable blocks so that users can tell us how they found the app. For this, I’ll use the “Button Group” element:

You can edit the labels, add images, customize the layout and spacing, change the font, apply a border and shadow, and more.

The three side-by-side button blocks have been transformed into a colorful, custom-labeled grid of options. If they’re going to be clickable options like in this example, you’ll be able to program in hover effects to make them respond to your users’ touch.
Step 3d: Add Other Elements
You can add all kinds of interactive and attractive elements to your onboarding flows. For example:
- Account setup/login forms;
- File uploaders;
- Slider selections;
- Rating requests;
- Payment forms.
It all depends on your goal for that step and what the easiest way to get that information across or to collect it from your users is.
Step 4: Add Navigation Buttons
Giving your users full control over their onboarding experience is going to be crucial in getting as many of them through the process as possible.
Although it’s common to place a single “Continue” button at the bottom of each onboarding step, it might be a good idea to give them extra navigation options.
For instance, let’s say the step we designed above is the first in a series of six. We can place a “Next” button on the right side of the step. A “Previous” button wouldn’t make sense, but a “Skip” button would be useful. While it’s nice to find out how people discovered our apps, it’s not totally necessary, so giving them the option to skip is good.

Both buttons are placed side-by-side here. However, the “Skip” button has been designed as a plain text link as opposed to “NEXT,” which is more prominent. You can play around with how you present the various button options to your users.
Step 5: Enable Interactivity and Connectivity
Every step you build will have at least one element of interactivity. To configure your clickable elements, use the “Properties” setting on the right toolbar.
Let’s start with the “Button” elements.
You can configure more than just links to the next steps or pages in your app. You also have the ability to:
- Set multiple actions.
- Disable the button if the fields aren’t submitted.
- Create custom validation rules that need to be met.
- Set conditional logic that determines when the button appears in the flow.

When it comes to other clickable elements in Feathery, you’ll have similar options with regard to validation rules and conditional logic. However, the other settings will differ based on what the element is.
For example, the “Button Group” element asks you to set constraints. You can allow for multiple responses. You can also make the response optional, which you’ll need if you include a “Skip” button on that screen. When it comes to form fields, on the other hand, you may need to set limits on what can be entered or uploaded.
Interactivity is an important piece of the user onboarding flow. If there are any issues with getting through the process, you’re going to lose users before they get inside your app. The rest will likely expect the app to be just as confusing or difficult to use, which won’t bode well for user attrition. So spend extra time on this step to make sure you get it right.
Step 6: Create The Flow
Depending on how you added new steps to your user onboarding flow, you might not need to do much in this step. However, it’s still a good idea to check.
To see what your flow looks like, click on the “Flow” tab on the left. Then click on the “Flow Editor” button to open your flow chart.

If you set up the steps initially to connect together, you’ll see them connected here. Additionally, if you programmed buttons to connect to other slides, you’ll see that reflected in the chart.
In addition to visualizing your flow, you can:
- Create a new step,
- Add new connections between steps,
- Set the connecting element between two steps,
- Add a condition so that different actions take users to different steps.
When you’re done, click the “Designer” button in the top-left to return to the main editor.
Step 7: Add Integrations (Optional)
There are different reasons to integrate other apps with your onboarding flow. For instance, you might want to track user engagement with a tool like Google Analytics. This would be helpful in keeping an eye on how many users are getting through each step. If they’re dropping out around the same point, your data will at least indicate where the greatest friction point is.
There are other tools that Feathery integrates with as well. Go to the “Integrations” tab at the top of your screen to find them.

You’ll be able to add a wide variety of functionality to your onboarding flows with integrations. Analytics is just the start.
For example, you can integrate with the following:
- Firebase or Stytch to add an authenticated login step;
- Stripe to collect one-off or recurring payment from new users;
- Plaid to automatically collect user financial information;
- Slack to notify your team when a new user has completed the process;
- HubSpot to add new users to your CRM and automated email marketing campaigns.
A user onboarding form is a great way to get users into your app without the need for a sales rep or customer service associate to contact them. Adding integrations will allow you to streamline the onboarding and engagement process even more.
Step 8: Publish
When you’ve finished designing your user onboarding steps, hit the “Publish” button in the top-right corner. Use the down arrow to open a preview or the live form to see how your new onboarding flow looks and to test it out.
To add the new onboarding process to your app, use the “Publish” dropdown one more time to retrieve the JavaScript or React code.

The code will automatically be copied to your clipboard. Go into your CMS and add it wherever you want the element to appear — like in a pop-up at startup.
Wrapping Up
Is a user onboarding flow necessary? If you want to maximize conversions or collect necessary user information for other purposes, then yes.
Despite the critical role that onboarding plays in product adoption, designing a great onboarding experience for your users doesn’t have to be difficult. Whether you build it from scratch, use another app’s onboarding flow for inspiration, or start with a template, you can have a well-thought-out and beautifully designed user onboarding flow set up in no time at all.
Sign up for Feathery to start creating effective user onboarding flows of your own.